

Want to create a table Elementor quickly without installing extra plugins?
This guide shows a lightweight, plugin-free workflow: generate an HTML table in a free online editor, customize it, replace placeholders with FontAwesome SVG icons, then paste the result into Elementor’s HTML widget.
The method keeps your site fast and gives you full control over styling.
Why avoid adding a table plugin
Installing a table extension adds extra code and assets to your site. For a single comparison or pricing table, that extra weight is rarely worth it. Generating a clean HTML table and embedding it in Elementor delivers:
- Faster pages — no extra plugin assets loaded sitewide
- Cleaner code you control
- Complete styling flexibility using the HTML output
What you need
- An online HTML table generator (for example: tablesgenerator.com)
- FontAwesome (for SVG icons)
- Elementor (any page where you can add an HTML widget)
Step-by-step: generate and embed a table
1. Build the table structure in the online editor
Open an online HTML table generator and create a new table. For a simple pricing comparison, use three columns (Features, Free, Pro) and 4–6 rows for the feature list.
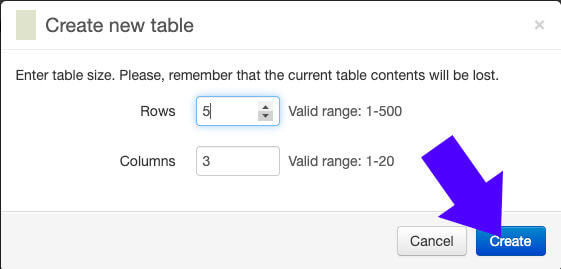
Use placeholder text like X and V where you want checkmarks and cross icons.
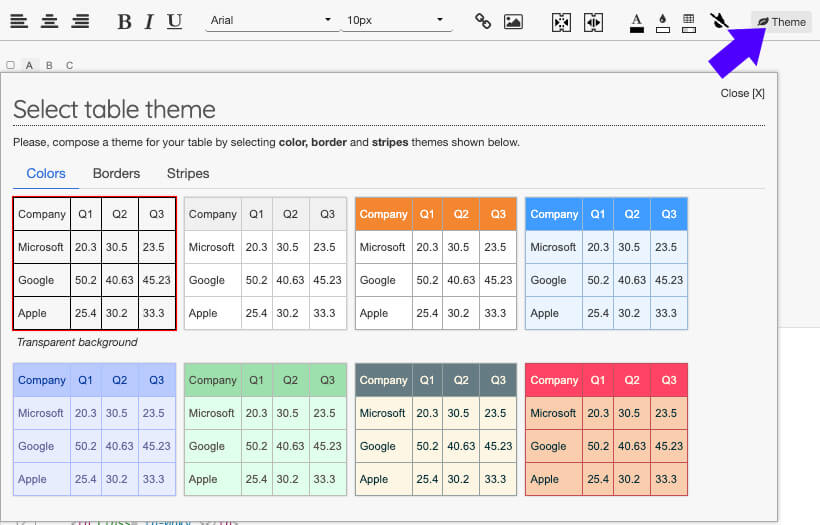
2. Choose a theme and basic styling
Tweak colors, borders, and row stripesine the generator so the table matches your design. You can align cell content, change background stripe colors, and set borders. These settings save time because the generator outputs styled HTML.
3. Generate and copy the HTML
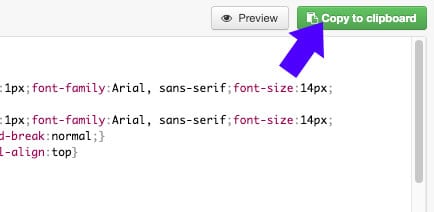
Click generate, then copy the HTML to the clipboard. This is the exact code you’ll paste into Elementor.
4. Paste into Elementor using the HTML widget
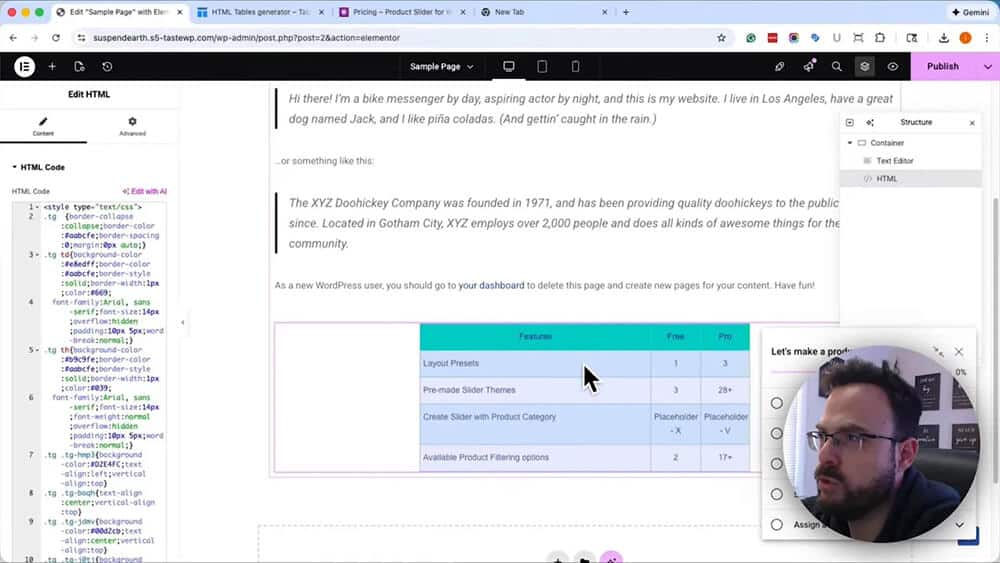
Elementor’s HTML widget to the page and paste the generated markup. Preview the page to confirm layout and spacing.
5. Replace placeholders with FontAwesome SVGs
For nicer checkmarks and crosses, use the SVG icons from FontAwesome. Search for the check and times icons, set the color and size, copy the SVG, and replace the placeholder letters in the table markup. After replacing, regenerate or re-copy the updated HTML and paste it back into the HTML widget.
6. Final tweaks and publish
If an icon size is off, edit the SVG width and height values in the markup. Make any final typography or color changes, then publish the page. You now have a clean, responsive table embedded in Elementor without adding plugins.
Quick tips
- Keep SVGs inline — copying SVG markup directly into table cells avoids external font or script dependencies.
- Regenerate after styling — some online editors require regenerating the HTML after color or font changes.
- Mobile test — ensure the table remains readable on narrow screens; adjust cell padding and font sizes as needed.
FAQ
Yes. The generated HTML is standard table markup. For basic responsiveness, use smaller font sizes and tighter padding for mobile. For more advanced behavior, wrap the table in a container with overflow-x: auto so it scrolls horizontally on small screens.
No. This approach is lighter than installing a dedicated table plugin because you only add the table HTML and any inline SVGs you use. There are no new plugin files or extra scripts loaded.
No. Many useful icons are available in the free FontAwesome set. If you need a Pro-only icon, substitute a free alternative or use simple SVG shapes.
You can edit the HTML widget content directly to change text, icons, or inline styles. For large edits, re-open the online generator, modify the table, generate new HTML, and replace the widget content.
Conclusion
To create a table elementor without plugins, generate clean HTML from an online table editor, swap placeholders for FontAwesome SVG icons, and paste everything into Elementor’s HTML widget.
This workflow keeps your site lightweight and gives you complete design control.
