If you want to add a clean, interactive touch to your site, learning how to scroll an image on a hover elementor is one of the simplest and most effective tricks.
I’ll walk you through a no-code method that uses Elementor’s built-in background controls to create a vertical scroll effect when a visitor hovers over an image.
Why use a scroll-on-hover image?
This effect is ideal for displaying tall screenshots, product shots, or lengthy illustrations without forcing visitors to leave the layout or click to open a larger view. It keeps pages compact while allowing users to preview content simply by hovering the image.
What you’ll need
- An Elementor page (free or Pro).
- A tall image or full-page screenshot you want to show from top to bottom.
- Basic familiarity with Elementor’s editor and widgets.
Step-by-step: create the scroll-on-hover effect
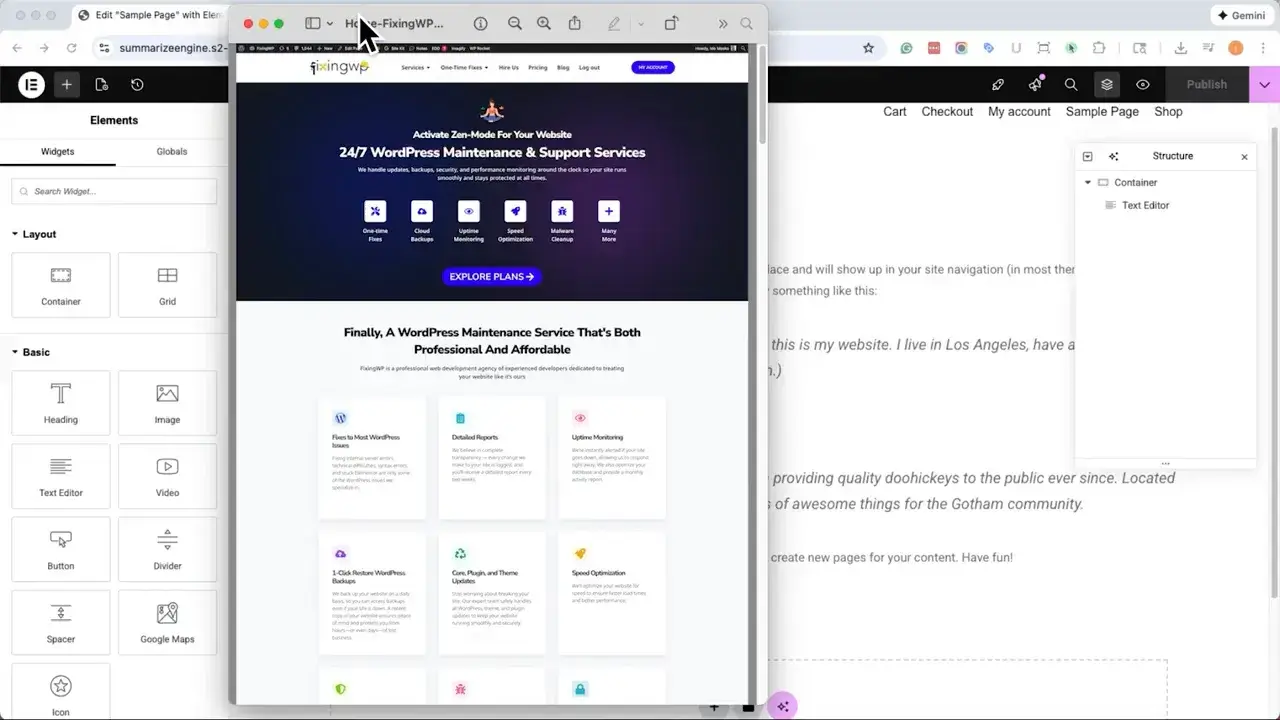
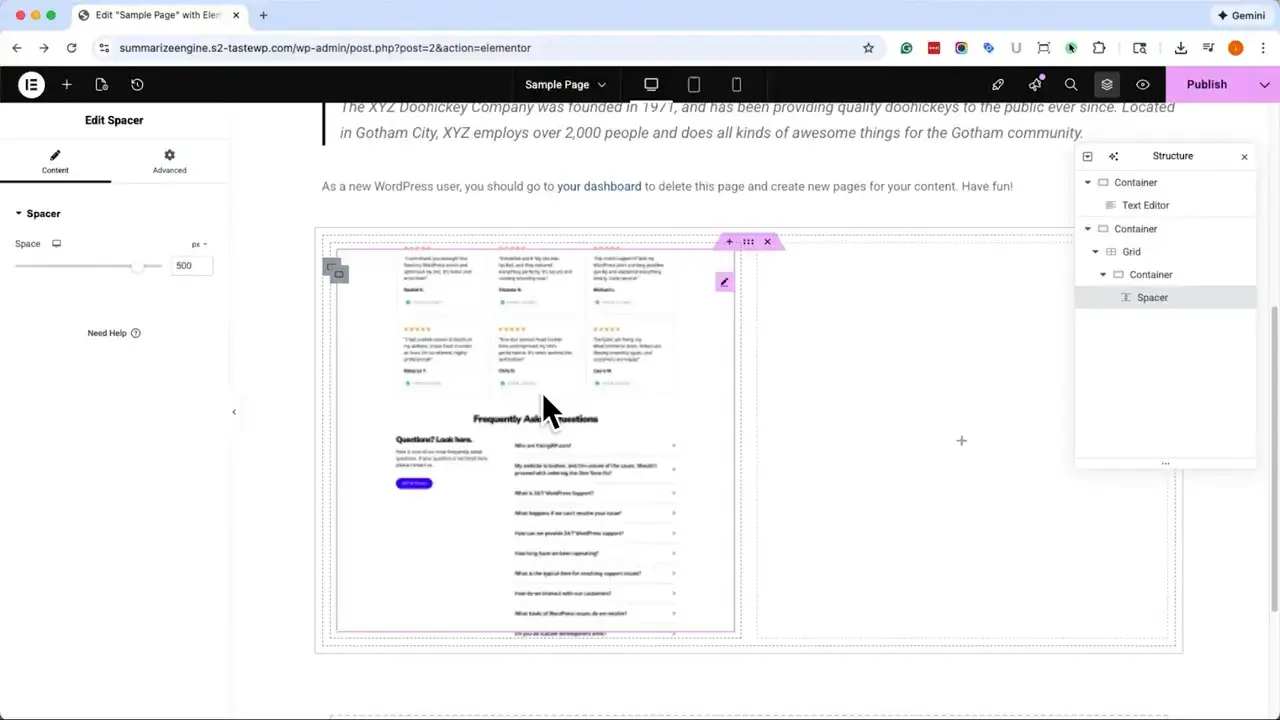
- Create a new section and add a two-column grid so the image can be placed on one side instead of filling the full width. This keeps the layout balanced and gives the scrolling image room to breathe.
- Drag a container or column into the left column where the image will appear. In the container’s Style tab, add your tall screenshot as the Background Image.

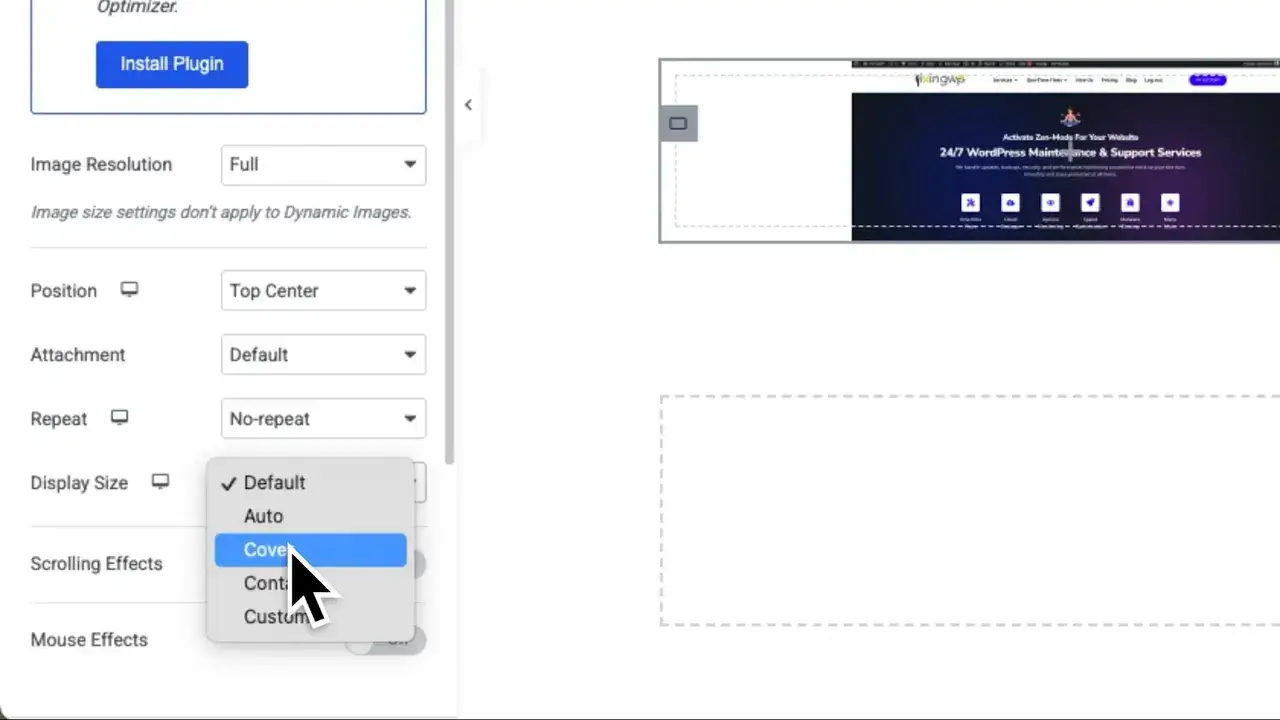
- Configure the default standard) background settings as follows:Position: top center, Repeat: no-repeat, Size: cover. This aligns the top of the screenshot to the visible area, allowing a hover transition to later reveal the rest.
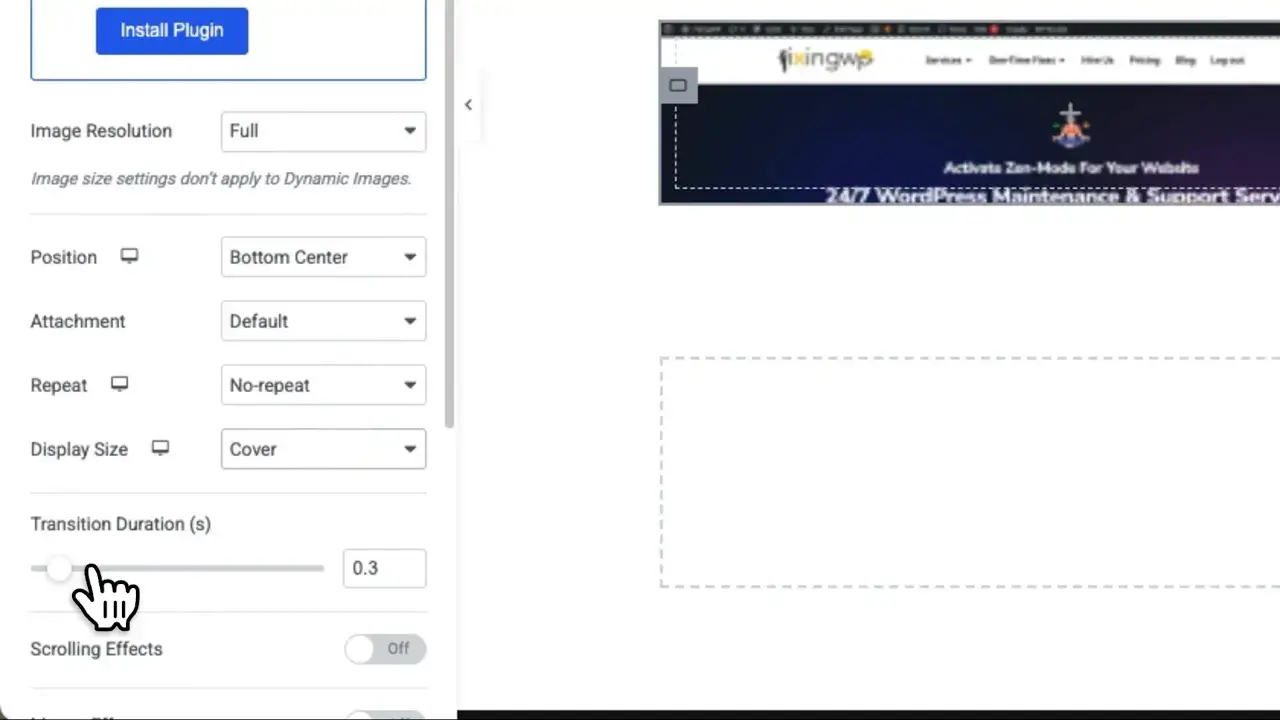
- Switch to the container’s Hover state and set the same image again, but change the Position to bottom center. Keep no-repeat and cover. Set a transition duration — three seconds is a good default. That determines how long it takes to move from top to bottom on hover.
- If the container is short, you won’t see much of the image. Add a Spacer widget inside the container and drag it until the container height matches how much of the image you want visible initially.
- Optionally, add a border to the parent container to frame the image and give it a card-like appearance. Use a solid border for a clean result.
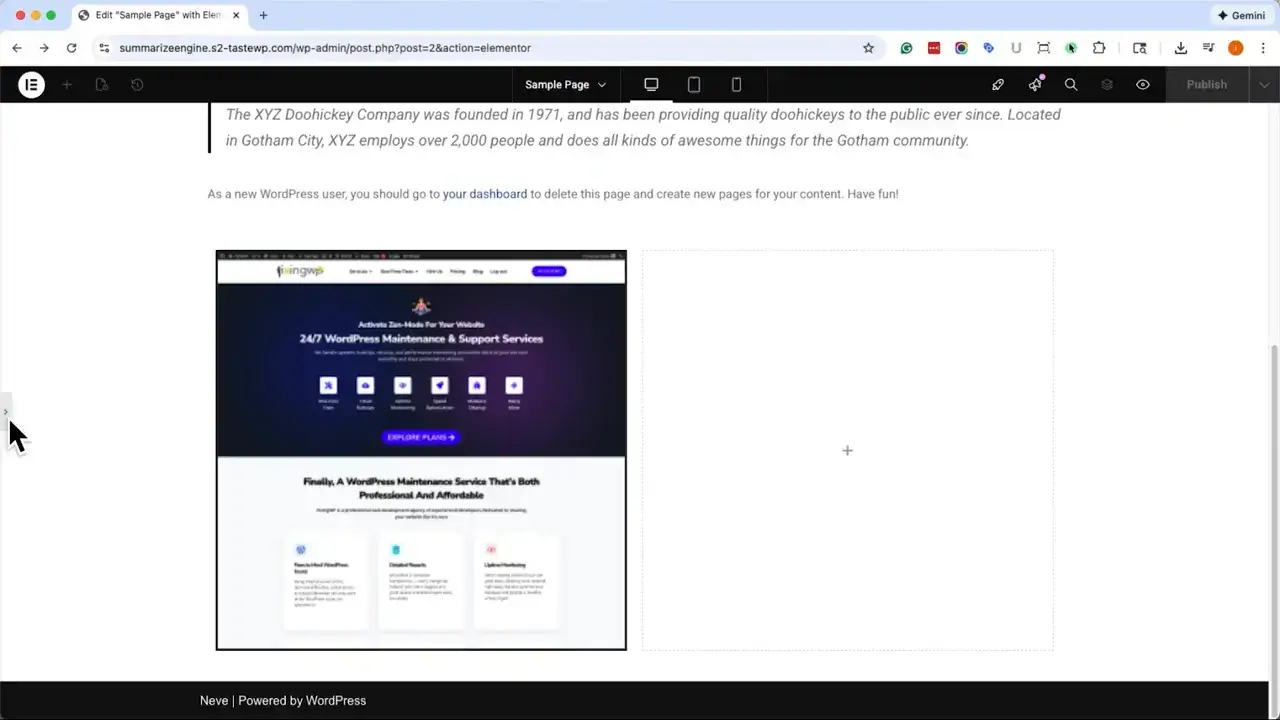
- Publish the page and test the interaction on the live site. Hovering over the container should smoothly scroll the background image from top to bottom.
Troubleshooting and fine-tuning
- Transition feels too fast or slow: Adjust the transition duration in the hover state. You can type a custom value beyond three seconds if you want a slower glide.
- The image appears cropped oddly. Ensure the background Size is set to ‘cover’ and experiment with the container height using the spacer widget.
- Effect not triggering: Confirm you set separate background positions for normal (top center) and hover (bottom center) states, and that the hover state contains the same image.
- Mobile behavior: Hover effects don’t work the same on touch devices. Consider adding a tap-to-toggle or a link to a larger view for mobile users.
Quick tips
- Use tall screenshots or vertically oriented images to maximize the visual impact.
- Keep the container width reasonable so the scrolling image remains readable.
- Combine the effect with subtle borders or shadows to make the interactive area obvious.
Related Articles
- How to Change Image on Hover in Elementor (Easy Step-by-Step)
- How to Add Text Over an Image in Elementor: 4 Easy Methods for Every Setup
- How to Add a Gradient Border Color to a Button in Elementor
Conclusion
Using this approach, you can create a polished, no-code scroll-on-hover image in Elementor in minutes.
The key settings are background position (top/bottom center), no-repeat, cover, and a smooth transition.
Mastering how to scroll an image on a hover element in Elementor will give your pages a polished look without requiring plugins or custom CSS.
